Tailoring Your PowerShell Experience
In an era where automation and efficiency reign supreme, PowerShell has emerged as the go-to tool for IT professionals and system administrators seeking to streamline their workflows and manage complex tasks with ease. This versatile and robust command-line shell and scripting language, developed by Microsoft, has revolutionized the way tasks are performed across Windows environments. Yet, its true power lies not only in its out-of-the-box capabilities but also in its remarkable potential for customization.
Welcome to the world of customizing PowerShell, where you can transform this already formidable tool into a finely tuned instrument tailored to your specific needs. In this article, we will delve deep into the art of PowerShell customization, exploring the myriad ways in which you can personalize your PowerShell environment, scripts, and functions to enhance your productivity, boost your efficiency, and simplify the management of your systems.
Understanding the Essence of PowerShell: A Detailed Overview
PowerShell, developed by Microsoft, acts as a multifaceted framework, offering a platform to execute automation tasks, general scripting, and a plethora of other functionalities, expanding the horizons of what one can achieve with it. It operates based on the .NET framework and is ingrained with extensive compatibility, enabling interaction with virtually all functions and features within the Windows operating system.
Evolution and Integration of PowerShell
PowerShell continues to evolve and integrate new features and capabilities, ensuring it stays current and versatile. It doesn’t just operate in isolation; it allows the integration of traditional commands, such as ping, but simultaneously offers more advanced and robust options, like Test-Connection, providing users with a versatile array of tools to accomplish various tasks efficiently.
Object-Oriented Nature of PowerShell
PowerShell is structured as an object-oriented programming language, characterized by its vast range of features. In the context of PowerShell, every element manipulated is an object, directly or indirectly. This characteristic implies that users can extract information from objects through properties and influence them through methods. The object-oriented nature allows for the streamlined handling of data, facilitating the execution of intricate tasks with precision and efficiency.
Interactivity and Scripting in PowerShell
PowerShell can be utilized in two primary manners:
Interactive Mode via the Shell:
This mode is instrumental when unraveling or deciphering specific issues and is particularly useful for troubleshooting. The interactive shell becomes a powerful tool when users need immediate responses or when experimenting with new commands or scripts, allowing for real-time adjustments and testing.
Scripting Language Mode:
In this mode, users have the opportunity to generate powerful scripts using editors like PowerShell ISE. Scripting is crucial for automating repetitive tasks, managing configurations, and processing data, which results in enhanced productivity and reduced risk of errors.
Choosing an Editor for PowerShell
When it comes to choosing an editor to work with PowerShell, Visual Studio Code is gaining popularity among users. While the setup might require a bit more effort, the array of advanced features it offers makes the initial time investment worthwhile. Visual Studio Code serves as an optimal choice for those seeking a robust and feature-rich environment to develop scripts and manage code.
PowerShell’s Comprehensive Abilities
PowerShell’s comprehensive capabilities extend far beyond simple command execution. It paves the way for the creation of highly complex scripts, capable of manipulating and interfacing with various system components and services. Its versatility is highlighted by its adaptability, allowing it to cater to a wide range of requirements, from system administrators to developers, providing an invaluable tool in managing and optimizing system performance and functionality.
PowerShell Versions: A Comprehensive Guide
PowerShell, the versatile and powerful scripting language and automation framework developed by Microsoft, has seen various versions over the years. Understanding which version you have and which ones are compatible with your Windows operating system can greatly enhance your scripting capabilities. In this guide, we’ll delve into the nuances of PowerShell versions and how to check your current version.
Windows 7: The Starting Point
Default Version: Windows 7 comes with Windows PowerShell version 2.0 pre-installed.
Upgrading to the Latest: If you’re still using Windows 7 and wish to experience the latest features of PowerShell (currently at version 5.0 at the time of writing), you’ll need to install the Windows Management Framework update.
Windows 8: A Unique Versioning Scenario
Windows 8 introduces an interesting twist to PowerShell versioning:
Range of Versions: Windows 8 allows you to run PowerShell versions 2.0 through 3.0, but it restricts you from running versions 4.0 and above.
Windows 8.1: Embracing Version 5.0
Progression: Windows 8.1 takes a leap forward, permitting you to run PowerShell version 5.0.
Windows 10: PowerShell Integration
- Default Version: Windows 10 comes with PowerShell version 5.0 pre-installed, seamlessly integrated into the operating system;
- Staying Current: With Windows 10’s automated update system, keeping your PowerShell version up to date (5.1 and beyond) is almost effortless.
PowerShell Core: Cross-Platform Versatility
PowerShell Core, a cross-platform iteration of PowerShell, is designed to work on Windows, macOS, and Linux. It has its own versioning structure, which may differ from Windows PowerShell.
Check Your PowerShell Version: A Step-by-Step Guide
Now that you’re aware of the PowerShell versions in different Windows environments, let’s explore how to check your current version:
- Open PowerShell: To begin, open PowerShell by hitting the Windows key or clicking the Start icon/button. Type in ‘PowerShell’ and select ‘Windows PowerShell.’;
- Pin to Taskbar: Consider pinning PowerShell to your taskbar for quick and easy access. This convenient tip can save you time in the long run;
- Using the $host Variable: PowerShell stores version information in a dedicated variable, $host. To check your PowerShell version, type “$host” into your console and press Enter. This will display detailed host information, including the version;
- Retrieve the Latest Version: If you’re only interested in the version number, type “$host.Version” to display the Version property exclusively;
- Major Version Check: To specifically retrieve the major version, use “$host.Version.Major.”
Functionality of PowerShell: An In-depth Exploration
PowerShell operates primarily through the execution of commands, offering an interpretative lens to comprehend the resulting output effectively. It employs a structure where every element either exists as or is transformed into an object. Here, an object can be perceived as an entity upon which actions can be performed using various methods, and from which information can be obtained through properties.
Grasping the Essentials of PowerShell
Before delving into the customization of the environment using PowerShell, it is crucial to understand some fundamental concepts. A significant aspect of learning PowerShell is experiential, focusing on practical engagement rather than purely theoretical understanding. Thus, don’t be overly concerned about mastering the terminologies from the get-go; instead, explore and learn through implementation.
The Simplicity of ‘Hello World’
Even a seemingly straightforward string like ‘Hello World’ is converted into an object in PowerShell, enabling users to act upon it. For instance, inputting the command ‘hello world’.Length will return 11, demonstrating the string length.
The string ‘Hello World’ is considered an object in PowerShell, allowing for various actions and retrievals of information through pipes and Get-Member. Piping is performed by utilizing the “|” character to pass the results of the preceding input to the subsequent command. When ‘Hello World’ is piped to Get-Member, the object type is revealed as System.String, along with a list of its associated methods and properties.
Executing Methods and Understanding Objects
To execute a method on an object, it is necessary to append a dot followed by the method name after the object, for example, ‘Hello World’.ToUpper. However, to execute it correctly, a pair of parentheses is required after the method name, and occasionally, varying values can be included within these parentheses to incorporate overload options.
Exploring the Get-Member command showcases its utility in revealing the properties and methods contained within an object, making it an indispensable tool in PowerShell. With the knowledge of these basics, users can experiment and explore further functionalities of PowerShell, learning more about the capabilities and utilities it offers.
Detailed Exploration of Object Types and Method Application
Each object in PowerShell is associated with numerous methods and properties, and users can explore these by adding a dot after the object name and specifying the desired method or property. This is crucial for understanding the various possibilities and actions that can be performed on an object, enabling users to utilize PowerShell more effectively.
Practical Learning and Exploration
Through hands-on experience and experimentation, users can delve deeper into the intricate workings of PowerShell, discovering its extensive capabilities and learning how to harness them efficiently. Practical learning provides insights into the numerous functionalities of PowerShell, from simple string manipulations to advanced environmental customizations.
Exploring Ping vs. Test-Connection: Unveiling the Power of PowerShell Networking Tools
When it comes to network diagnostics and troubleshooting in PowerShell, two go-to commands are ‘Ping’ and ‘Test-Connection.’ While ‘Ping’ is undoubtedly a household name for anyone dealing with network issues, ‘Test-Connection’ offers a deeper dive into network testing capabilities. Let’s embark on a journey to understand the nuances and potentials of these commands.
Ping: A Familiar Friend
Ping, a widely known utility, serves as the initial tool to check network connectivity. By typing ‘Ping Google.com’ into your PowerShell terminal, you can initiate a simple connection test to the Google server. This provides a quick insight into whether you can reach Google’s servers or not. But let’s not stop there; there’s more to explore.
Tips for Effective Pinging:
- Specify the number of packets to send using the ‘-n’ option: Ping Google.com -n 5 sends five packets for more reliable results;
- Understand response times: Analyze the ‘Round-Trip Time’ to gauge network performance;
- Use ‘-t’ for continuous pinging: Ping Google.com -t allows you to continuously monitor the connection.
Test-Connection: The Powerhouse of Network Testing
Now, let’s shift our focus to the versatile ‘Test-Connection’ command. Executing ‘Test-Connection Google.com’ will reveal a richer set of information compared to ‘Ping.’ This includes details on packet loss, response times, and more. But what makes ‘Test-Connection’ stand out?
Unveiling the Power of Test-Connection:
- Accessing Help: To unlock the full potential of ‘Test-Connection,’ use ‘Get-Help Test-Connection.’ It provides insights into various options and functionalities;
- Updating Help Files: If you encounter missing help files, run PowerShell as Administrator and execute ‘Update-Help’ to ensure you have the latest guidance;
- Utilizing ‘-ComputerName’ Parameter: This parameter accepts strings or string arrays, enabling you to test multiple hosts simultaneously.
Harnessing the ‘-ComputerName’ Parameter:
To test multiple hosts efficiently, create a string array using the following command:
[System.Collections.ArrayList]$testArray = @()Add hosts to the array:
$testArray.Add('192.168.1.1')
$testArray.Add('google.com')
$testArray.Add('qwertyuiop.asdf')
To prevent index output, pipe the ‘Add’ method to ‘Out-Null’:
$testArray.Add('yahoo.com') | Out-NullTo display array values, use:
$testArrayExecute ‘Test-Connection’ with your array:
Test-Connection -ComputerName $testArrayAdding Conditional Logic:
You can use ‘Test-Connection’ within conditional statements, such as:
if (Test-Connection Google.com) {Write-Host "Success!"}This script block will execute if ‘Test-Connection Google.com’ returns true, allowing you to automate actions based on network status.
Customizing Your PowerShell Environment: A Comprehensive Guide
Are you ready to transform your PowerShell console into a personalized powerhouse? Let’s dive into the exciting world of customizing your PowerShell environment, from tweaking the appearance to fine-tuning your user profile for a seamless experience.
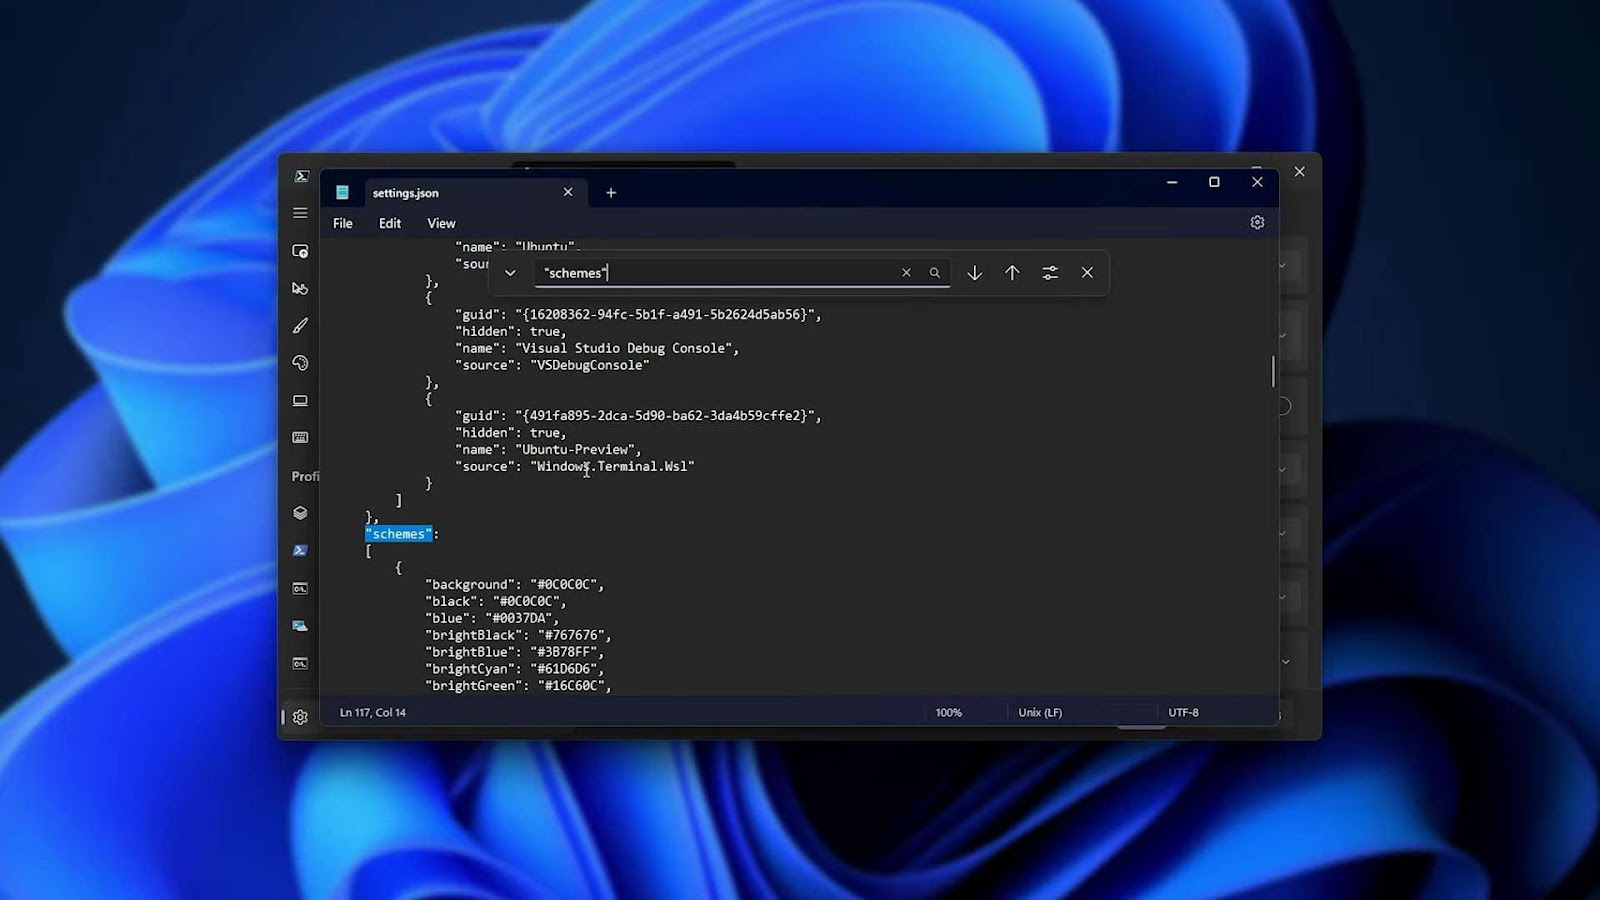
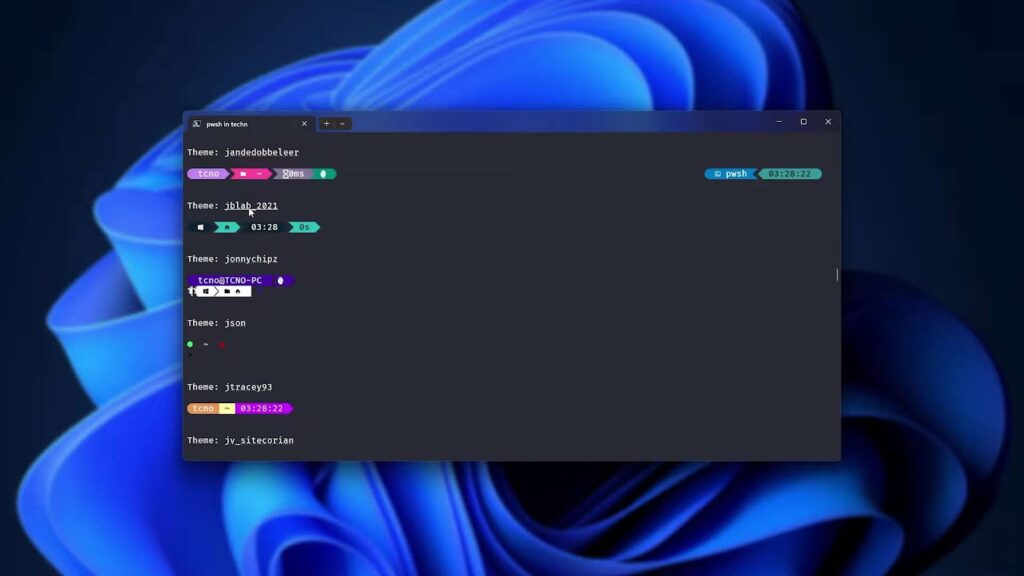
Customize Your Environment Appearance
Your PowerShell environment doesn’t have to be dull and monotonous. With a few simple steps, you can tailor it to your preferences:
- Open PowerShell Console: Begin by opening your PowerShell console. You can do this by searching for “PowerShell” in the Windows search bar or by pressing Windows Key + X and selecting “Windows Terminal” or “Windows PowerShell.”;
- Access Properties: Once your console is open, right-click on the title bar at the top of the window. This will reveal a menu with various options;
- Select Properties: Click on “Properties” from the menu to access the customization options;
- Font Customization: Inside the Properties window, navigate to the “Font” tab. Here, you can adjust the font style and size to your liking. Choose a font that enhances readability during your PowerShell sessions;
- Color Customization: Next, move to the “Colors” tab. This is where you can unleash your creativity. Customize the foreground and background colors to create a visually appealing and distinctive PowerShell console;
- Save Your Settings: Once you’re satisfied with your customizations, make sure to save your settings. You can now enjoy a personalized and visually pleasing PowerShell environment every time you open it.
Customizing Your Profile for a Tailored Experience
PowerShell’s profile files allow you to automate tasks and personalize your console’s behavior. Let’s explore how to customize your user profile:
- Understanding Profile Files: PowerShell uses profile files to load scripts automatically when you start the console. These profiles can vary depending on the host, but we’ll focus on the user profile across all hosts;
- Check Your Profile: To view your current user profile for all hosts, use the $profile.CurrentUserAllHosts command. It will provide you with the path to your profile script;
- Create the Profile: If your profile doesn’t exist yet, you can create it using the following commands;
- New-Item -Path C:\Users\<YourUsername>\Documents\ -ItemType Directory -Name WindowsPowerShell;
- New-Item -Path C:\Users\<YourUsername>\Documents\WindowsPowerShell\ -ItemType File -Name profile.ps1;
- Replace <YourUsername> with your actual Windows username.
Automate Profile Creation: For a quick and automated setup, use the following commands, which dynamically detect your user profile path:
New-Item -Path "$((Get-ChildItem ENV:\UserProfile).Value)\Documents\" -ItemType Directory -Name WindowsPowerShell
New-Item -Path "$((Get-ChildItem
ENV:\UserProfile).Value)\Documents\WindowsPowerShell” -ItemType File -Name profile.ps1
Edit Your Profile: To open and edit your profile file, use the Start-Process cmdlet:
Start-Process $profile.CurrentUserAllHostsCustomize Your Profile Script: Now, you can add custom code to your profile.ps1 file. Here’s an example to get you started:
$foregroundColor = 'white'
$time = Get-Date
$psVersion = $host.Version.Major
$curUser = (Get-ChildItem Env:\USERNAME).Value
$curComp = (Get-ChildItem Env:\COMPUTERNAME).Value

# Customized welcome message
Write-Host "Greetings, $curUser!" -foregroundColor $foregroundColor
Write-Host "It is: $($time.ToLongDateString())"
Write-Host "You're running PowerShell version: $psVersion" -foregroundColor Green
Write-Host "Your computer name is: $curComp" -foregroundColor Green
Write-Host "Happy scripting!" `n

# Customized prompt function
function Prompt {
    $curtime = Get-Date

    Write-Host -NoNewLine "p" -foregroundColor $foregroundColor
    Write-Host -NoNewLine "$" -foregroundColor Green
    Write-Host -NoNewLine "[" -foregroundColor Yellow
    Write-Host -NoNewLine ("{0}" -f (Get-Date)) -foregroundColor $foregroundColor
    Write-Host -NoNewLine "]" -foregroundColor Yellow
    Write-Host -NoNewLine ">" -foregroundColor Red

    $host.UI.RawUI.WindowTitle = "PS >> User: $curUser >> Current DIR: $((Get-Location).Path)"

    Return " "
}
Save and Restart: Once you’ve added your customizations, save the profile.ps1 file and close your PowerShell console. Reopen it to see the changes take effect.
Conclusion
Now, every time you use PowerShell, your customized profile script will enhance your experience by displaying personalized greetings, information, and an eye-catching prompt. Your PowerShell environment is uniquely yours, reflecting your style and preferences. Enjoy scripting in style!