Extraction of ElvUI Failed: Solutions and Troubleshooting
In this informative post, we explore a PowerShell module designed for World of Warcraft enthusiasts who seek streamlined ElvUI management. The module offers various features, and the creator’s motivation and implementation details are shared.
The Need for Automation
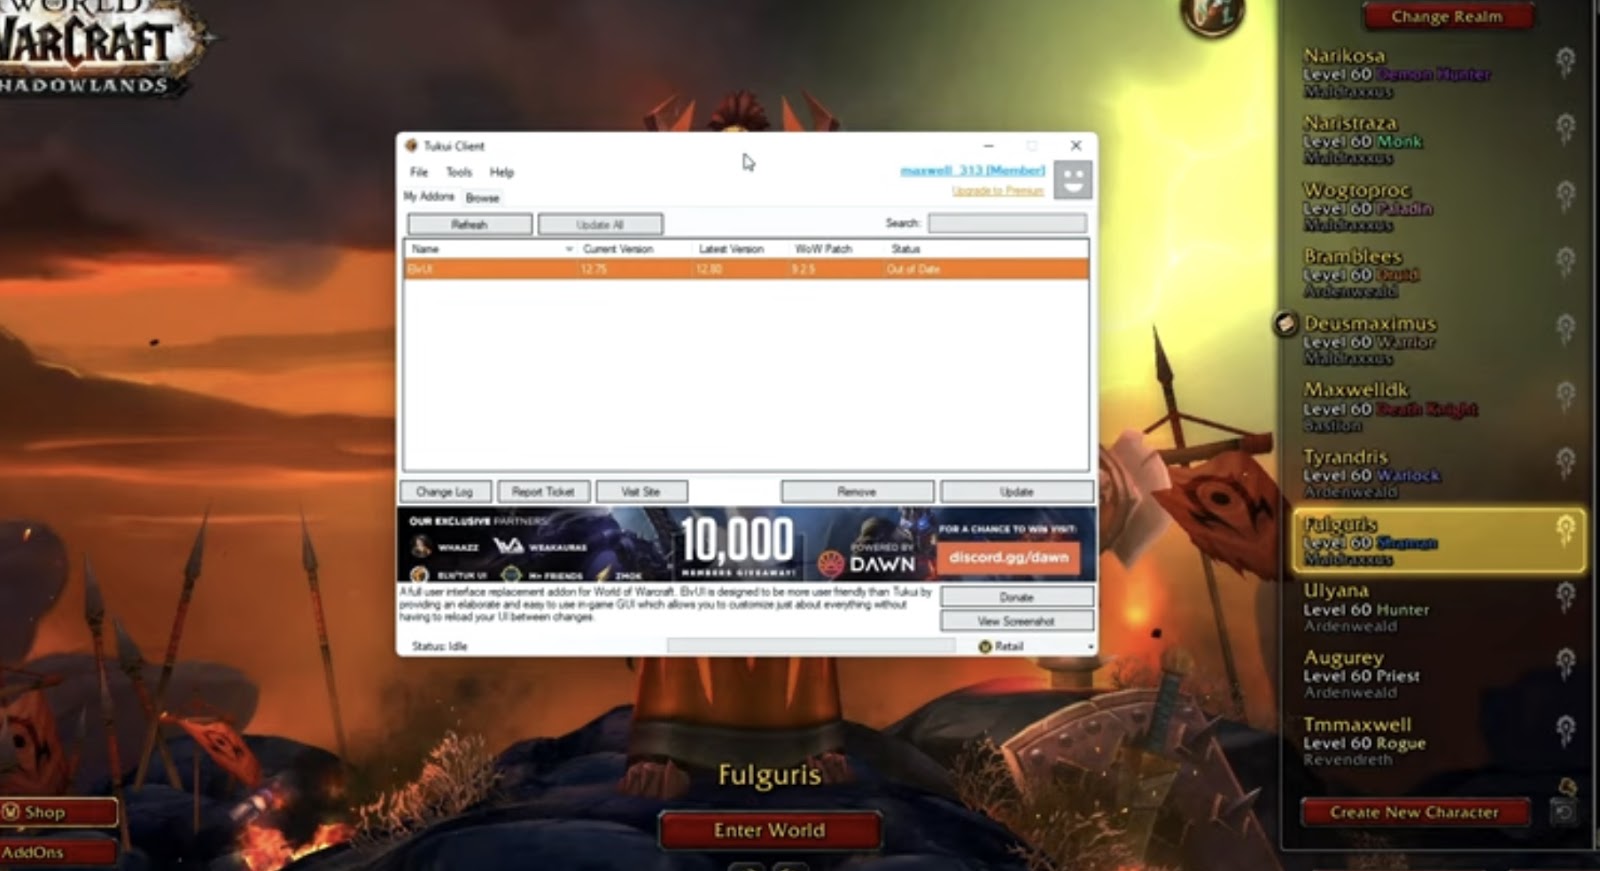
For avid World of Warcraft players, managing the ElvUI interface is an integral part of enhancing their gaming experience. ElvUI, a popular user interface modification, allows players to customize their UI elements, making it a vital tool for tailoring the game to individual preferences. However, keeping ElvUI up-to-date and ensuring its smooth operation can be a time-consuming and tedious task.
- This is where automation steps in as a game-changer. The PSElvUI module is designed to address the pressing need for automation in ElvUI management. It streamlines the entire process, making it effortless for players to maintain and update their UI. Here are some of the key functionalities it offers;
- Check and Update ElvUI: Staying current with the latest ElvUI version is crucial for accessing new features and improvements. PSElvUI simplifies this by automating the update process. Players can easily check for updates and apply them seamlessly through PowerShell;
- Install ElvUI: For those who are new to ElvUI or need to reinstall it, PSElvUI provides a hassle-free installation process. It ensures that the mod is correctly set up on your system without the need for manual downloads and configurations;
- Simple Version Checking: Sometimes, players may only want to verify if a new ElvUI version is available without making immediate changes. PSElvUI caters to this need by offering a straightforward version checking option.
By addressing these key needs, PSElvUI empowers World of Warcraft players to focus on what they do best—gaming—while ensuring their UI remains optimized and up-to-date.
The Motivation
The creation of the PSElvUI module may prompt the question: Why develop this module when there are existing tools available for managing ElvUI? The answer lies in the motivation behind its inception.
The primary motivation for creating PSElvUI was to provide automation and quick accessibility within the World of Warcraft gaming environment. While other tools certainly exist, the author recognized the value of seamlessly integrating ElvUI management into the PowerShell scripting environment, particularly for Windows users.
Here’s why PSElvUI stands out in terms of motivation:
- Automation: Automation is at the core of PSElvUI. It allows players to update, install, or check ElvUI versions with a simple PowerShell command. This level of automation streamlines the process and reduces the need to navigate through multiple interfaces or websites;
- Quick Access: With PSElvUI, players have quick access to ElvUI management without the need to launch additional applications. This level of convenience is invaluable for gamers who want to make on-the-fly adjustments to their UI;
- PowerShell Integration: Being PowerShell-based, PSElvUI seamlessly integrates with the scripting environment that many Windows users are familiar with. It aligns ElvUI management with existing PowerShell workflows, making it a natural choice for those well-versed in PowerShell scripting;
- Furthermore, while the initial focus is on Windows users, the author’s commitment to expanding support to Mac users in the near future demonstrates a dedication to inclusivity and accessibility across different platforms.
In essence, the motivation behind PSElvUI is to enhance the World of Warcraft gaming experience by providing a user-friendly, automation-driven, and platform-flexible solution for ElvUI management.
Installation Guide
Getting started with PSElvUI is a breeze, and this section will guide you through the straightforward installation process. Windows users can quickly install the module directly from the PowerShell Gallery, granting them immediate access to the automation and management capabilities.
Follow these steps to install PSElvUI:
- Run PowerShell as Administrator: To ensure smooth installation, open PowerShell with administrator privileges. This can typically be done by right-clicking the PowerShell icon and selecting “Run as administrator.”
- Install the Module: In the elevated PowerShell window, enter the following command and press Enter.
```powershell

   Install-Module PSElvUI

   ```
This command instructs PowerShell to download and install the PSElvUI module from the PowerShell Gallery.
- Confirmation: During installation, PowerShell may prompt you to confirm that you want to install the module from an untrusted repository. Confirm by typing “Y” and pressing Enter;
- Wait for Installation: PowerShell will now download and install the PSElvUI module along with any required dependencies. The process may take a few moments, depending on your internet connection speed;
- Module Availability: Once the installation is complete, PSElvUI is ready for use. You can verify its availability by typing:
```powershell

   Get-Module -Name PSElvUI

   ```
If the module is listed, you have successfully installed PSElvUI.
Now that PSElvUI is installed on your system, you’re ready to harness its automation capabilities to streamline your ElvUI management within the World of Warcraft gaming environment. Whether you need to update, install, or simply check for new ElvUI versions, PSElvUI is your automation companion, providing a convenient and efficient way to enhance your gaming experience.
For more detailed instructions, consult the README.md.
Using the Module
Now that PSElvUI is installed and ready for action, let’s dive into how to utilize the module effectively. With its user-friendly commands, PSElvUI makes managing ElvUI in World of Warcraft a seamless experience. Here are the available commands and their purposes:
Check for Updates Without Installation: If you’re interested in only verifying whether a new ElvUI version is available without making any changes to your current setup, use the following command:
```powershell

  Invoke-ElvUICheck -OnlyCheck -Verbose

  ```
This command will provide you with information about the availability of updates and whether it’s time to consider an update. Check and Update if a New Version is Available: To both check for updates and automatically update ElvUI if a new version is detected, use the following command:
```powershell

  Invoke-ElvUICheck -Verbose

  ```
This command streamlines the entire update process, ensuring that you’re always equipped with the latest features and improvements. Install ElvUI if it’s Not on Your System: If you’re new to ElvUI or need to set it up on a system for the first time, PSElvUI simplifies the installation process with this command:
```powershell

  Invoke-ElvUICheck -InstallIfDoesntExist -Verbose

  ```
This command handles everything from downloading ElvUI to configuring it correctly on your system, eliminating the need for manual installation steps. With these commands at your disposal, you can effortlessly manage your ElvUI interface, whether you’re keeping it up-to-date, installing it from scratch, or simply checking for the latest version.
Troubleshooting and Feedback
While PSElvUI aims to provide a smooth and trouble-free experience, technical hiccups can occasionally occur. In such cases, the module’s creator is committed to assisting users and continually improving the module. Troubleshooting and feedback are vital components of this ongoing process.
If you encounter any issues or have suggestions for enhancing PSElvUI, here’s what you can do:
- Reach Out: Don’t hesitate to contact the module’s creator when facing difficulties. They are readily available to assist you with any problems you may encounter;
- Feedback Welcome: The author welcomes feedback and suggestions from users. Whether you have ideas for new features, improvements, or simply want to report a bug, your input is valuable;
- Community Support: In addition to direct communication with the creator, consider seeking help or discussing the module within relevant online communities or forums. The collective knowledge of fellow users can often provide solutions and insights.
The commitment to resolving issues and refining the module ensures that PSElvUI remains a reliable tool for ElvUI management within World of Warcraft.
A Deeper Look
For users who are interested in a deeper understanding of how PSElvUI functions behind the scenes, this section offers insights into its inner workings. Beyond its practical applications, PSElvUI serves as a platform for Pester tests—a testing framework for PowerShell. These tests validate the module’s functionality, ensuring it operates smoothly and reliably.
Here’s a closer look at what this means:
- GitHub Repository: The entire source code of PSElvUI, along with associated tests, can be found in its GitHub repository. This open-source approach allows users to explore the codebase and gain insights into its structure and functions;
- Pester Tests: Pester is a testing framework specifically designed for PowerShell scripts and modules. Within the GitHub repository, you’ll find a suite of Pester tests that rigorously evaluate the paths and functions of PSElvUI. These tests play a crucial role in maintaining the module’s reliability;
- By delving into the code and associated tests, users can gain a deeper understanding of how PSElvUI accomplishes its tasks and ensures the seamless management of ElvUI within World of Warcraft. It also offers an opportunity for those interested in PowerShell scripting to learn from real-world code and testing practices;
- PSElvUI is more than just a user-friendly tool; it’s a meticulously crafted module that prioritizes automation, reliability, and user engagement. Whether you’re a casual World of Warcraft player looking for effortless ElvUI management or a PowerShell enthusiast interested in exploring the inner workings of the module, PSElvUI has something valuable to offer.
For World of Warcraft enthusiasts looking to simplify ElvUI management and automate updates, this PowerShell module is a valuable tool. The author’s dedication to providing a seamless experience is evident in its functionality and testing procedures. Explore and enjoy a hassle-free ElvUI experience!
Empowering File Downloads with PowerShell
In the realm of PowerShell, knowledge becomes power, especially when it comes to downloading files. Embracing the command ‘Invoke-WebRequest’ is essential for adept web parsing and efficient file acquisition. But what if there was a tool that could harness the might of PowerShell, making file downloads a modular and effortless experience?
NINJA DOWNLOADER: An Overview
Ninja Downloader operates by executing its main script, ‘download.ps1,’ which accepts the following parameters:
DownloadName
In the realm of PowerShell automation, the concept of `DownloadName` is your key to unlocking the world of modular file downloading. This crucial parameter allows you to specify the name of the script you wish to execute, and it even offers the option to execute all available scripts. These scripts, residing in the `.scripts` directory, are the building blocks of your automation journey.
However, when specifying the script name, remember to exclude the `.ps1` extension. `DownloadName` empowers you to choose precisely which script to run, giving you the flexibility to customize your automation tasks as needed.
OutputType
In the realm of PowerShell automation, flexibility in handling output is paramount. The `OutputType` parameter puts you in control of how your results are delivered. By default, this parameter is set to ‘none,’ but you have a variety of options to choose from:
- XML: Selecting this option will export the results in the form of clixml. It’s a structured and machine-readable format that’s particularly useful for further processing or data sharing;
- CSV: If you prefer your results in a tabular format, choose CSV. This format is human-readable and widely compatible with various software applications, making it an excellent choice for reporting and analysis;
- HTML: For a visually appealing representation of your results, opt for HTML. This format is ideal for generating reports or summaries that can be easily shared and viewed in web browsers;
- All: Why limit yourself to just one format when you can have it all? Selecting ‘All’ will export your results in XML, CSV, and HTML, ensuring you’re prepared for any data-handling scenario.
No matter your preference, the `OutputType` parameter grants you the flexibility to tailor your automation results to suit your specific needs.
DownloadFolder
The `DownloadFolder` parameter adds another layer of customization to your automation experience. This option allows you to define the location where the downloaded files will be stored. If you leave it empty, the tool will default to using `.\downloads` as the storage directory.
What’s particularly convenient is that, if the specified folder doesn’t exist, the tool will create it for you. This means you can seamlessly organize your downloaded files without worrying about manual folder creation. Whether you prefer to keep your downloads neatly organized or simply need a dedicated location for specific files, the `DownloadFolder` parameter gives you the control you need.
UnZip
In the world of file downloads, compressed archives often reign supreme. The `UnZip` parameter introduces a touch of automation magic by automatically attempting to extract zip archives after they’ve been downloaded.
Here’s how it works: Once a zip file is downloaded, the tool takes the initiative to unzip it. The extracted files are then neatly placed in a dedicated directory, following a naming convention that includes the file’s name and a timestamp. This way, you don’t have to worry about manual extraction, and your downloaded files are ready for use. With the `UnZip` parameter, you can streamline your workflow even further, especially when dealing with a multitude of downloadable files, some of which may be zipped for convenience.
ListOnly
The `ListOnly` parameter offers a different perspective on automation. It serves as a switch, and when activated, it provides you with a comprehensive list of all available script names within the tool. Alongside each script name, you’ll also receive its respective path.
This feature is invaluable for those moments when you need a quick reference or want to explore your automation options. It’s like having a catalog of scripts at your fingertips, allowing you to make informed choices about which scripts to execute without diving into the directory structure manually.
Downloading a File
Now that you’re equipped with a solid understanding of the parameters at your disposal, let’s explore how to put them to practical use by downloading files. Within this versatile automation tool, several default scripts come bundled, ready to assist you in various tasks. Let’s take a closer look at these default scripts:
- Ccleaner.ps1: This script offers the ability to manage and optimize your system using CCleaner, a popular system maintenance tool;
- Chrome.ps1: Need to install or update Google Chrome? This script has you covered, making sure you’re always using the latest version of the web browser;
- FireFox.ps1: For users of Mozilla Firefox, this script handles both installation and updates, ensuring you’re up-to-date with the latest features and security patches;
- Java.ps1: Java is a fundamental component of many applications. With this script, you can effortlessly download and update Java to keep your system compatible with Java-based software;
- Skype.ps1: For communication needs, Skype is a go-to application. This script simplifies Skype installation, sparing you the hassle of manual downloads and setups;
- template.ps1: Aspiring automation creators, this one’s for you. Template.ps1 serves as a blueprint for creating custom download scripts. It provides a framework you can build upon, customizing your automation to suit your unique requirements.
These default scripts are designed to address common automation needs, whether it’s software updates or system maintenance. By utilizing the power of PowerShell and these predefined scripts, you can streamline tasks and ensure that your systems are always running efficiently.
So, whether you’re looking to optimize your system with CCleaner, stay up-to-date with the latest web browsers, or create custom automation scripts, this versatile tool has you covered. Armed with the `DownloadName` parameter and an array of predefined scripts, you have the tools to automate with precision and ease. Automation just got a whole lot more accessible and efficient.
To use these scripts:
- Open PowerShell and navigate to the project/script’s root directory;
- Run the following code: `$downloadResults = .\download.ps1 -DownloadName ccleaner`;
- Access results in the `$downloadResults` variable.
Downloading All Files
To download all files using every script in the ‘.\scripts’ folder:
- Open PowerShell and navigate to the root directory;
- Run: `$downloadResults = .\download.ps1 -DownloadName all -Verbose`
Output Types
This script supports multiple output formats, all timestamped with date and time:
CSV
To output results as a CSV, run: `$downloadResults = .\download.ps1 -DownloadName all -OutputType csv`
HTML
For HTML output: `$downloadResults = .\download.ps1 -DownloadName all -OutputType html`
XML
To generate XML output: `$downloadResults = .\download.ps1 -DownloadName all -OutputType xml`
ALL
For all output formats: `$downloadResults = .\download.ps1 -DownloadName all -OutputType all`
Crafting Custom Download Scripts
You can create your own scripts to use with Ninja Downloader. The provided template in the ‘.\scripts’ folder serves as an example. Ensure your script returns an object with the following properties:
- DownloadName (string, file name);
- Content (byte array, file contents);
- Success (boolean);
- Error (string, any error received).
Example Script Creation
Suppose you want to download ElvUI. Follow these steps:
- Save the template as ‘elvui.ps1.’;
- Customize the script to match ElvUI’s web structure;
- Run: `.\download.ps1 -downloadName elvui`.
Explore the GitHub Repository
Find this project on GitHub for additional resources. Download the code as a ZIP file and ensure to unblock ‘download.ps1’ and scripts within the ‘.\scripts’ folder.
What’s Next?
With Ninja Downloader, you can:
- Create custom download scripts;
- Schedule tasks to download the latest versions of tools automatically;
- Explore the full script help by running: `Get-Help .\download.ps1 -Full`
The Quest for Menus in PowerShell
In the early stages of their PowerShell journey, our intrepid script writer pondered how to make life easier for those who would use their creations. What started as a simple script eventually evolved into a comprehensive module, a tool for the entire team.
Within this module resided a plethora of functions: some for onboarding new hires, others for handling terminations, and many more for general Active Directory user management and Exchange wizardry. However, with over six functions in the mix, it was time to introduce a basic menu system for the Helpdesk crew, simplifying their interactions with PowerShell and the module.
Setting the Stage
To build a menu, our scriptwriter first needed to present options to the user. The trusty `Write-Host` command was their tool of choice for this task. To enhance the visual experience, they opted to define the `$foregroundColor` variable globally, allowing for future color adjustments, because, let’s face it, who doesn’t want a bit of color in their scripts?
Another variable, `$ncVer`, stored the version number. Now, let’s construct that menu:
```powershell

Write-Host `n"Ninja Center v" $ncVer -ForegroundColor $foregroundColor

Write-Host `n"Type 'q' or hit enter to drop to shell"`n

Write-Host -NoNewLine "<" -ForegroundColor $foregroundColor

... And so on

```
But the scriptwriter’s newfound favorite feature was `-NoNewLine`. This clever addition enabled them to alternate colors on the same line, enhancing the aesthetic appeal of the menu. A little flair goes a long way, after all!
Escape strings like `t` (horizontal tab) and `-n` (new line) played their part in maintaining the menu’s tidiness, ensuring it didn’t become an overwhelming wall of text.
Taking Action
Now that the menu was in place, it was time to capture user input and spring into action! This called for a combination of `Read-Host` and a `Switch` statement:
```powershell

$sel = Read-Host "Which option?"

Switch ($sel) {

    Handle various menu options...

}

```
Each option led to a specific action. For example, selecting “A3” prompted additional input gathering to prepare variables for a function call. This approach allowed for a tailored and user-friendly experience, particularly valuable for Helpdesk scenarios.
Putting It All Together
The menu system was wrapped up neatly into a function:
```powershell

function Load-NinjaCenter {

    [cmdletbinding()]

    param()

    The entire menu...

}

```
This function could be placed in a custom module, readily accessible whenever needed. A simple call to the function would bring the menu back to life.
Learning from Experience
Sharing scripts in this manner revealed the fascinating truth: people will find inventive ways to challenge your code. This process not only helped identify script weaknesses but also served as a superb learning opportunity. And so, the scriptwriter’s journey through PowerShell continued, armed with newfound menu-building skills and a deep appreciation for the art of user interaction in scripting.
In conclusion, the journey of building a basic text menu system in PowerShell, as explored in this narrative, sheds light on the iterative and creative nature of script development. Our intrepid scriptwriter’s quest to simplify and enhance the user experience within PowerShell modules led to the creation of a versatile and user-friendly menu system.
The key takeaways from this journey are multifaceted:
- User-Centric Scripting: The scriptwriter’s realization that scripting isn’t just about writing code but also about delivering a smooth, user-centric experience is a vital lesson. Building menus and interfaces can greatly enhance script utility, especially when catering to diverse users with varying degrees of expertise;
- Aesthetic Considerations: The script’s use of colors, tabs, and newlines demonstrates the importance of aesthetics in scripting. Well-designed menus not only improve functionality but also make scripts visually appealing and easier to navigate;
- Adaptability and User Feedback: The inclusion of a dynamic menu structure that adapts to user choices and the ability to handle diverse inputs exemplifies the importance of robust scripting. It’s crucial to anticipate user behavior and provide clear feedback to enhance usability;
- Continuous Learning: The scriptwriter’s journey highlights that scripting is an ongoing learning process. Sharing scripts exposes them to real-world challenges and helps identify areas for improvement. Scriptwriters should embrace feedback and continually refine their work;
- Scripting for Collaboration: The menu system’s development for a Helpdesk team showcases the collaborative nature of scripting. Building tools that empower others to efficiently use PowerShell is a valuable contribution to any organization.
In summary, the creation of a PowerShell menu system is not just a technical endeavor but an artful fusion of functionality and user experience. It reflects the scriptwriter’s commitment to making the powerful capabilities of PowerShell accessible to a wider audience. This journey underscores the iterative and dynamic nature of scripting, where feedback, adaptability, and user-centric design play pivotal roles. As the scriptwriter continues their adventures in PowerShell, they carry forward valuable lessons in scripting craftsmanship and the art of user interaction.